
 One of the joys of growing a garden is getting to bring a bit of it indoors. Whether it’s stunning springtime blooms or festive evergreen branches, I always have at least a couple of vases filled in my home. And thanks to a recent cut flower arranging class at The Gardens (which was free, I’d like to add!), I now can expect my displays to look better and last longer!
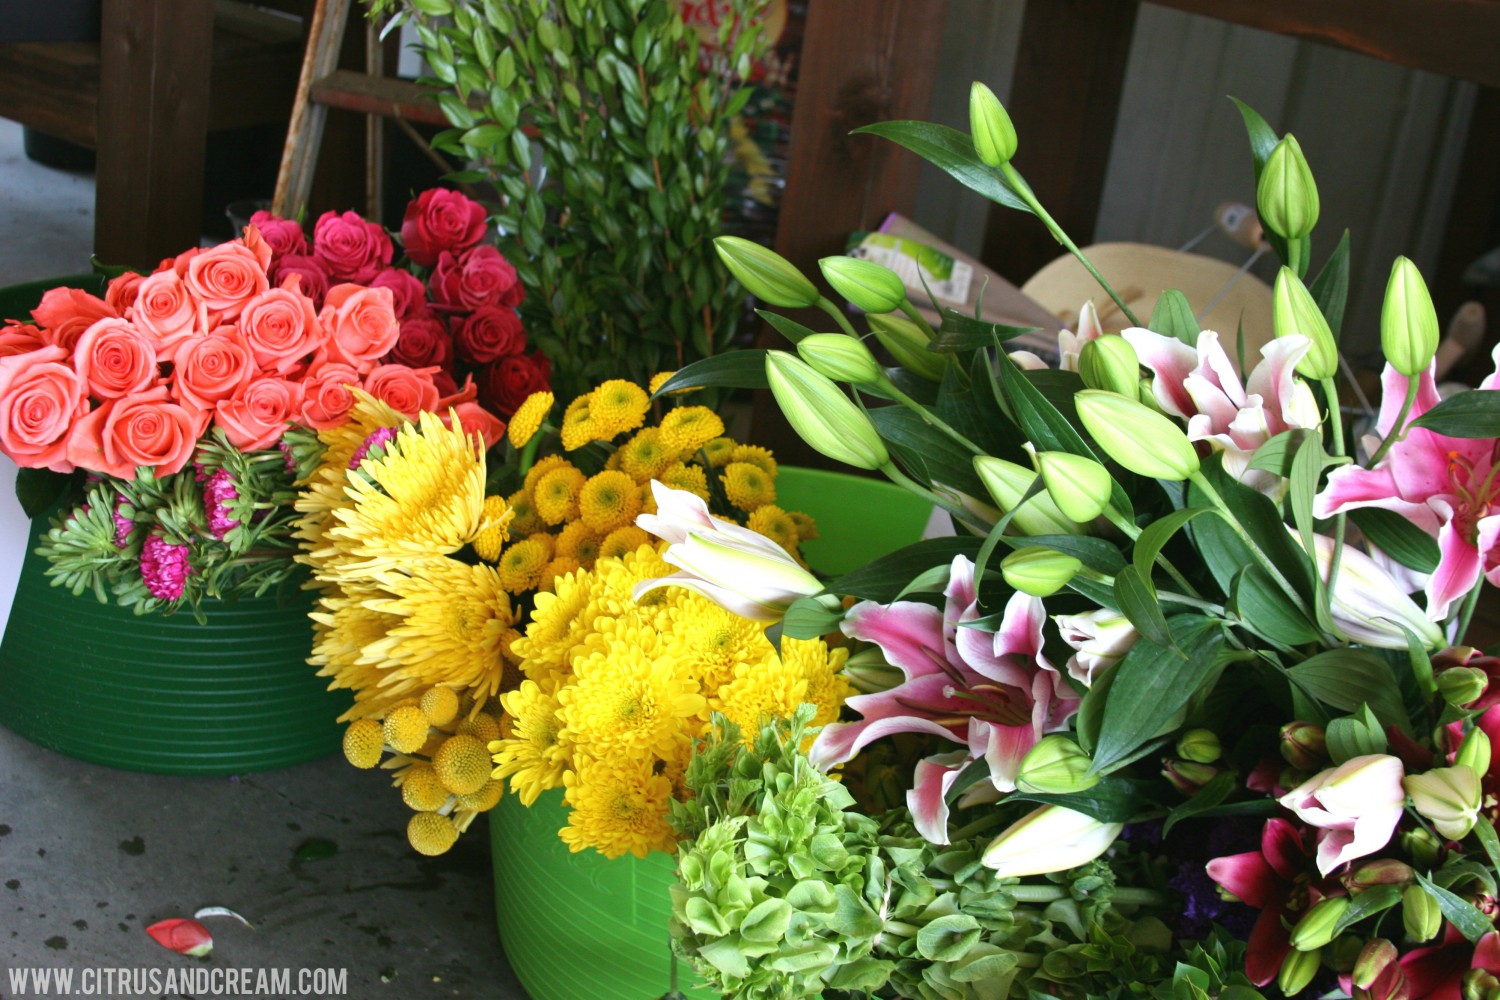
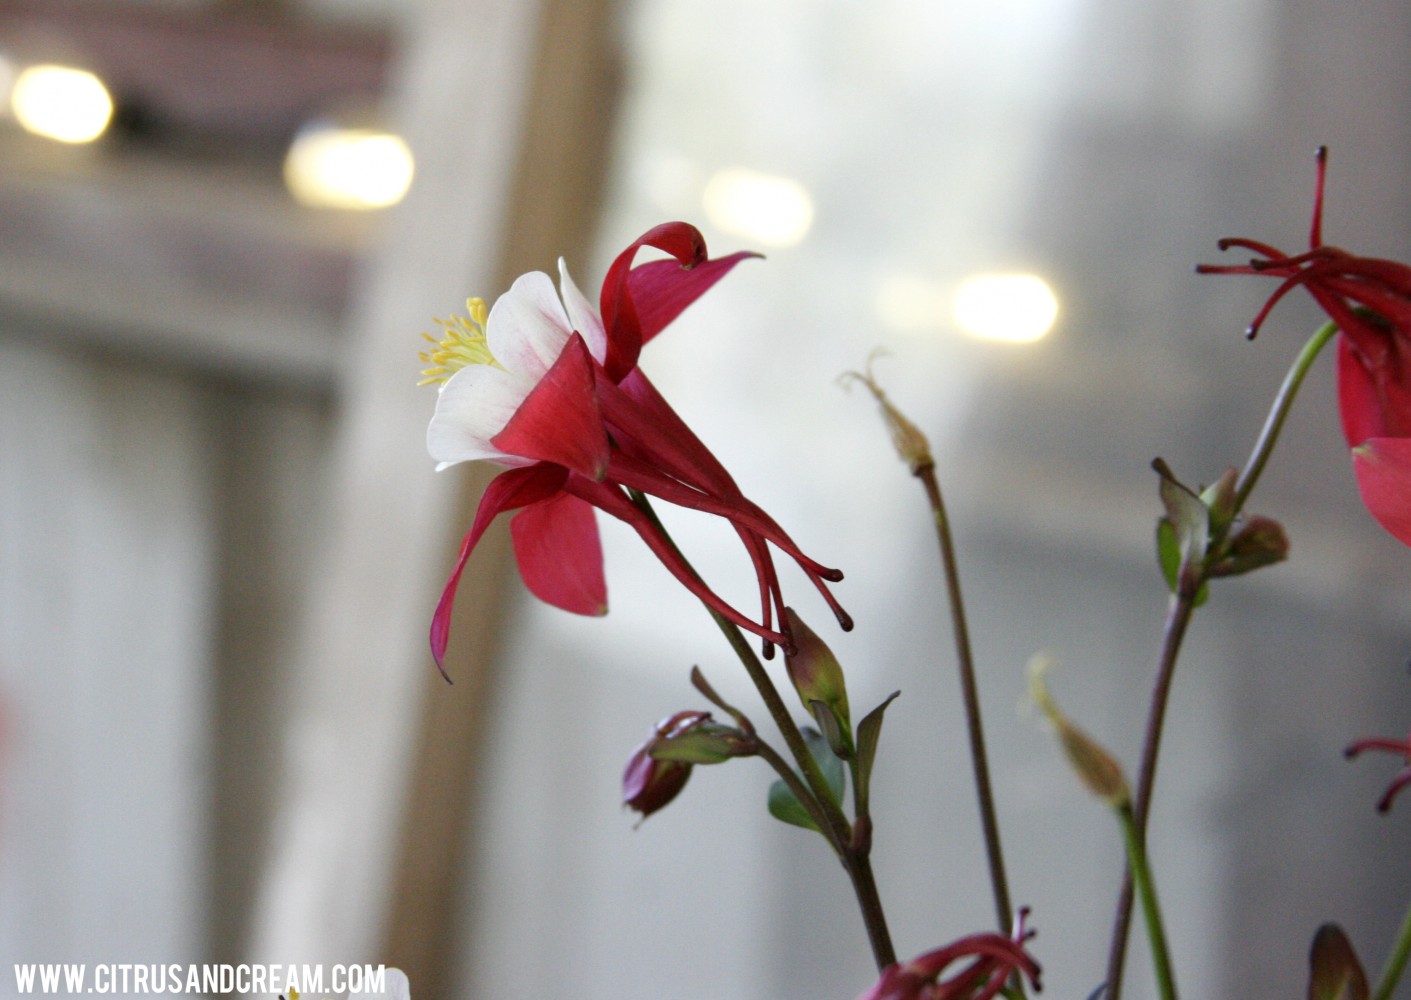
This first class was really about using what you have in your garden, getting creative with whatever is growing locally and seasonally (such as the lavender pictured below or the red columbine further down), as well as conditioning the flowers and water for best results.

While there is no one perfect way to create flower arrangements, these ideas may be helpful:
- Follow the thrillers, fillers, and spillers rule. Choose one to three stems of a stunning flower to be the main attraction or thriller, then use greenery up and around to be the filler, and add smaller hanging flowers or greenery to spill over.
- Allow colors to determine where you take your arrangement. Stick with cool colors (blues, greens, purples) or warm colors (reds, oranges, yellows); go monochromatic (all pinks, for example); choose contrasting colors (orange and blue; green and red); draw from pastel or bold color palettes.
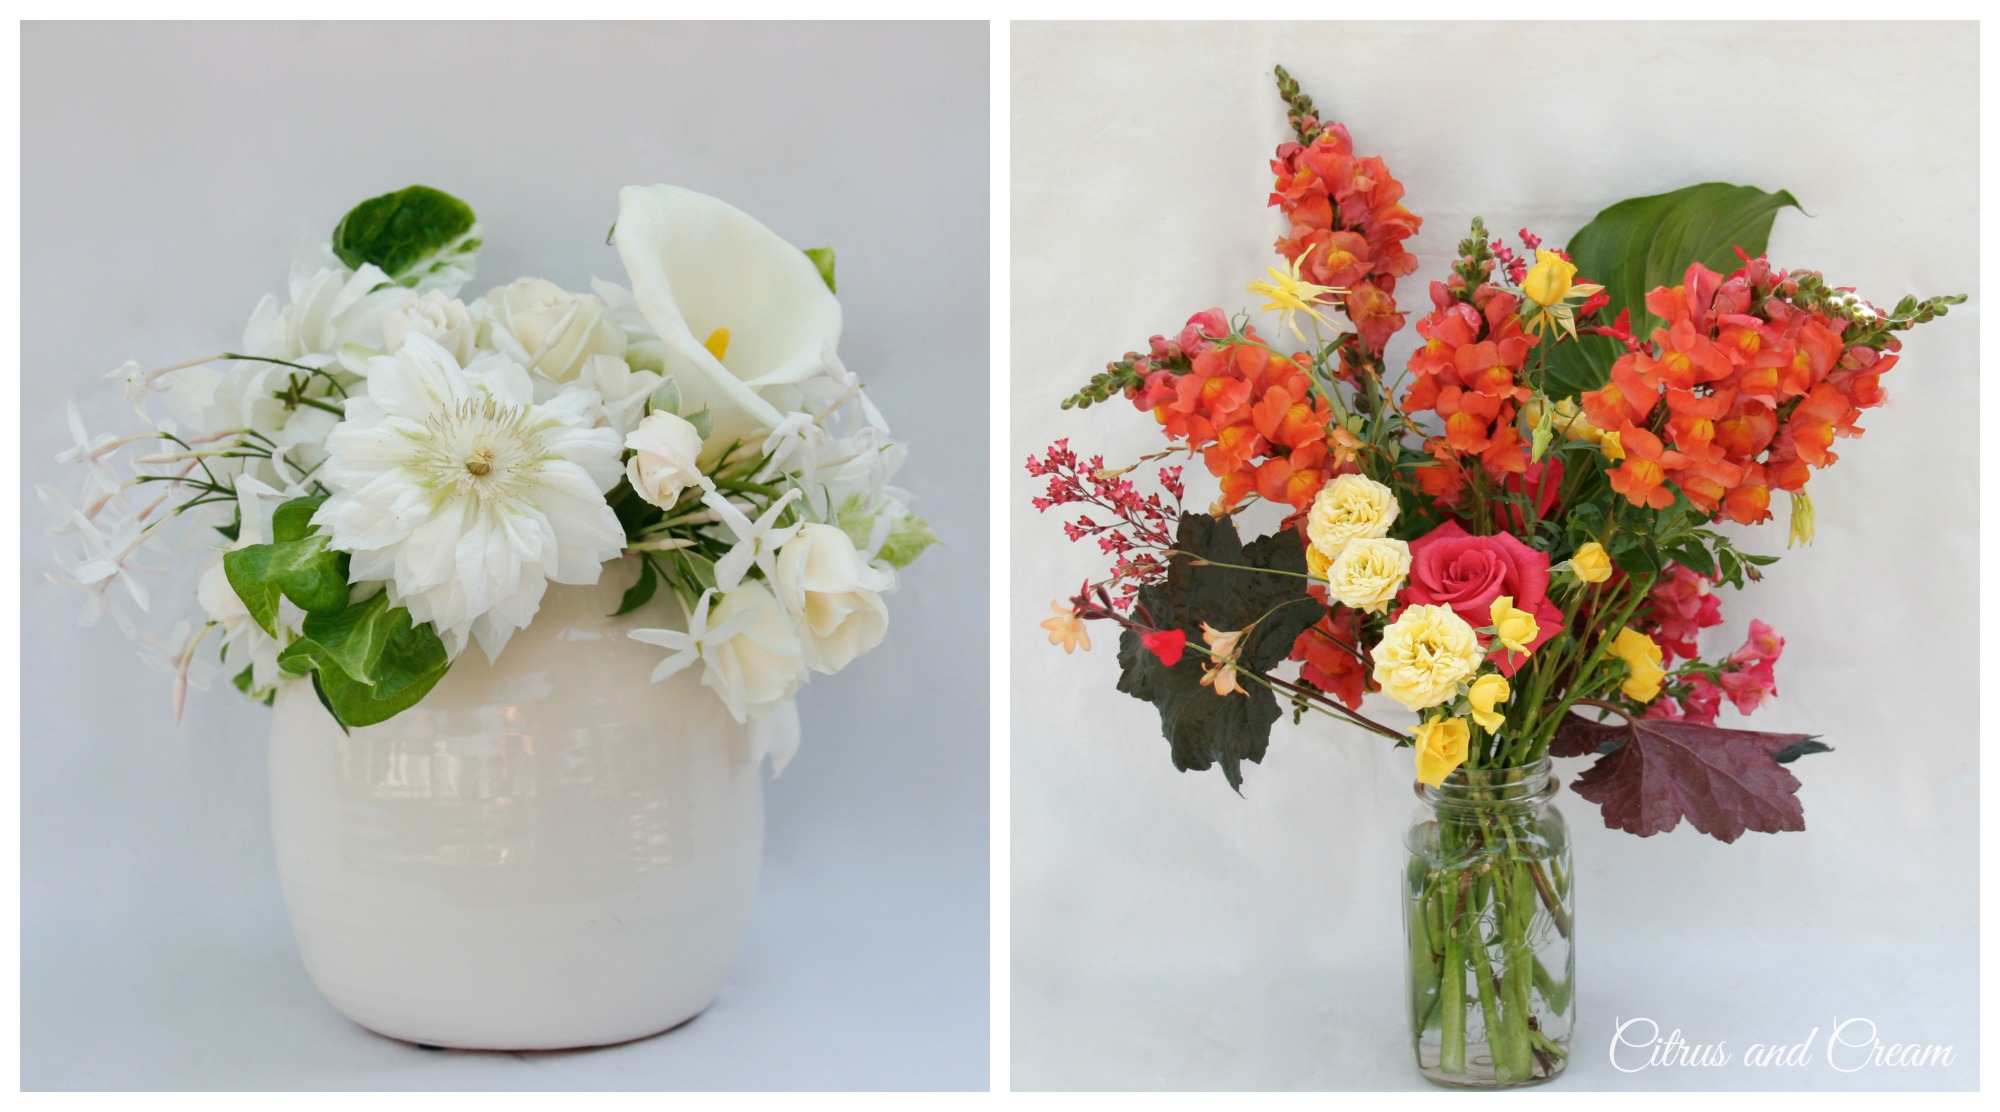
- Think beyond your traditional showy flowers. Consider what’s in the vegetable or herb garden–curled parsley, for example, can be a great addition (pictured below, in the white urn).
- The vase you use will somewhat determine your arrangement. Have fun trying out different containers and seeing how it changes the look!
 Tips for Cutting and Conditioning
- Cut the bottom of the flower stems at a 45 degree angle. This creates a large surface so water and nutrients can be absorbed.
- Some flowers that come from bulbs (like daffodils, for example) produce a sap and need their stem to be dipped in boiling water for conditioning. Be aware that these are sometimes best in their own arrangement!
- Remove the leaves so none sit in the water in the vase.
- Warm water works best! Never iced and never hot.
- Add a teaspoon of sugar and a few drops of vinegar to the water to condition it.
- Increase the longevity of your flowers! Keep the arrangement away from direct light and fruit, and change the water and recut stems every few days.
 This is just a brief overview of the great tips and tricks from the class! You can find an updated list of classes (which are all free with minimal materials cost!) here, or you can sign up here to receive the emails.
After attending the class, I came home and had a blast creating a few arrangements of my own:
 If you don’t yet know this about me, flowers make me happy!

Now grab your shears, get in the garden, and make a happy arrangement yourself!
Leave a Reply